

|
|
|
||||||||
|
|
|||||||||
| Home | Forums | Register | Gallery | FAQ | Calendar |
| Retailers | Community | News/Info | International Retailers | IRC | Today's Posts |
 |
|
|
Thread Tools |
|
|
#1 |
|
will always be Mike Litoris in our hearts
|
Camelbak Antidote Bladder - Pictures only so far.
Hello everyone,
I got my new Camelbak Antidote Bladder today in the mail. Going to do some testing and usage and report back later. There wasn't any review of a hydration bladder so I though we could use one. More details will follow in a little while. I'm just busy busting my ass studying for my exams. Stay tuned for fullreview. Here are some pictures for now. I got this off of Ebay for 30 bucks shipped. Not too bad considering many sellers want at least 40 for it + an outragous amount for shipping a item that weight less than 200 grams, ah well sucks to be them. The seller is: o.n.b http://www.ebay.ca/itm/270938791239?...84.m1497.l2649 Here is the listing if you want. He only has 9 left he had 30 a week ago so they are going quickly. He was pretty good, and deserves the sales, he responded to emails within minutes, gave me a traceable shipping method, and a nice little shell key chain for free. Here is a link to a bite valve cover, it was fairly reasonable I guess. http://www.ebay.ca/itm/200727748178?...84.m1497.l2649 Come with Bladder detachable tube, and a key chain from the Ebay seller. 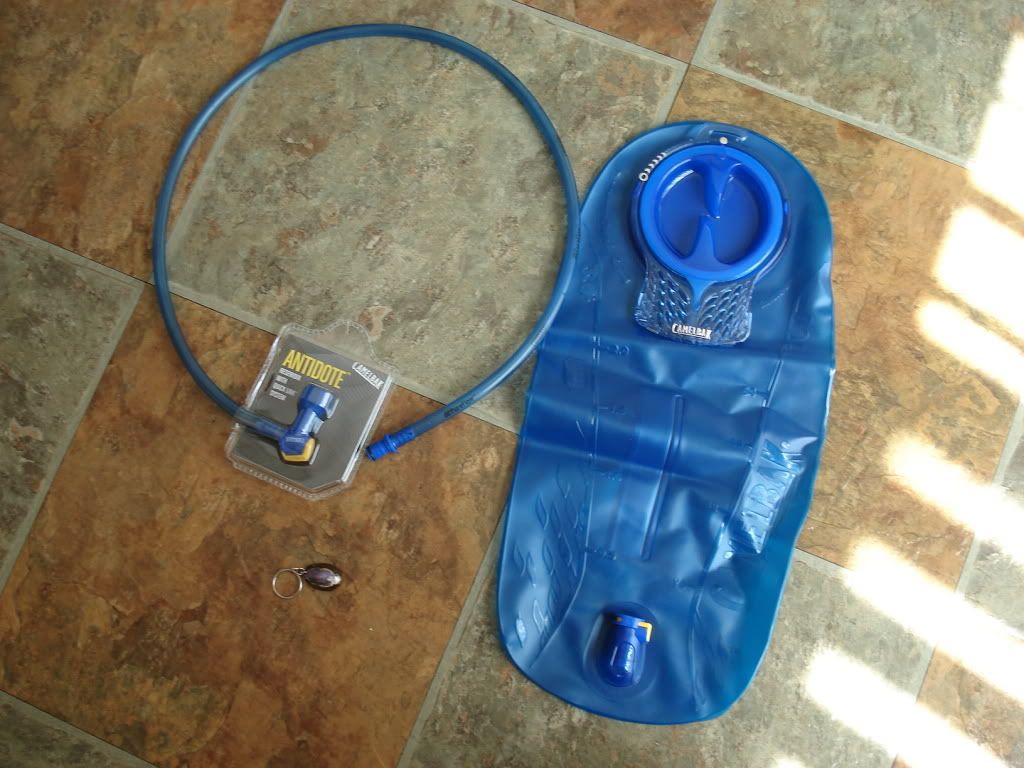 Bite valve should come sealed in a plastic clam shell. 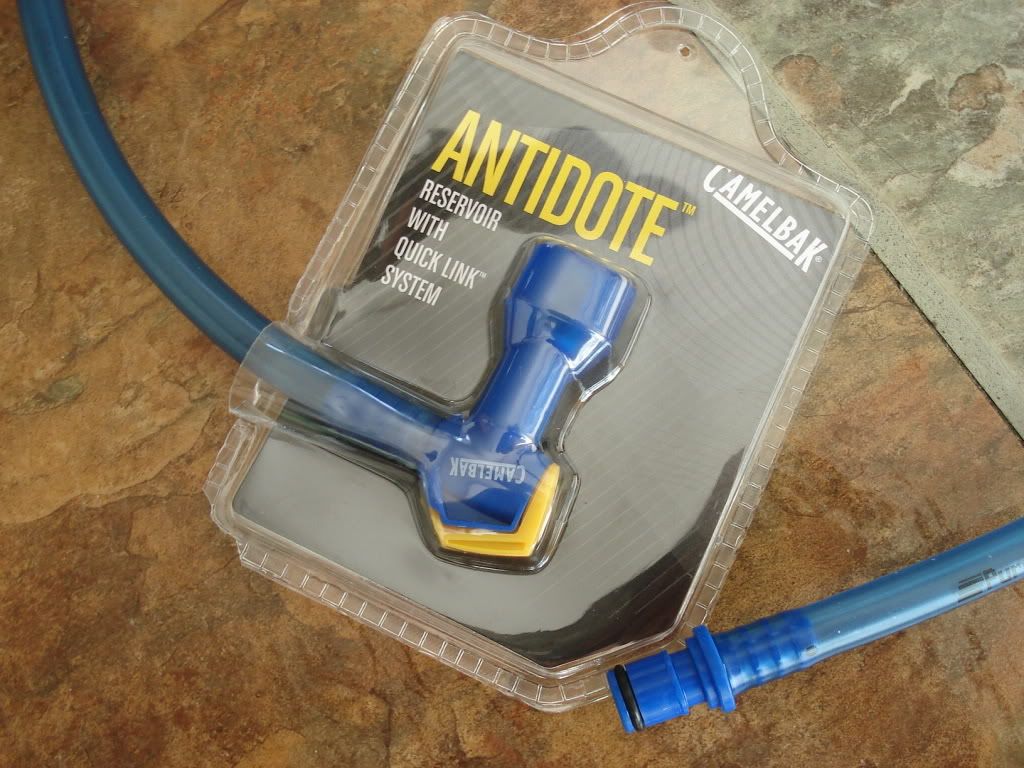 Free keychain from Ebay seller, that was nice of him.  This could look a little naughty, but you wouldnt want to stick anything in there. Reminds me of a scene from south park "the female galgameck vagina is 3 feed wide and lined with razor sharp teeth. Do you REALLY expect us to have sex with them??" 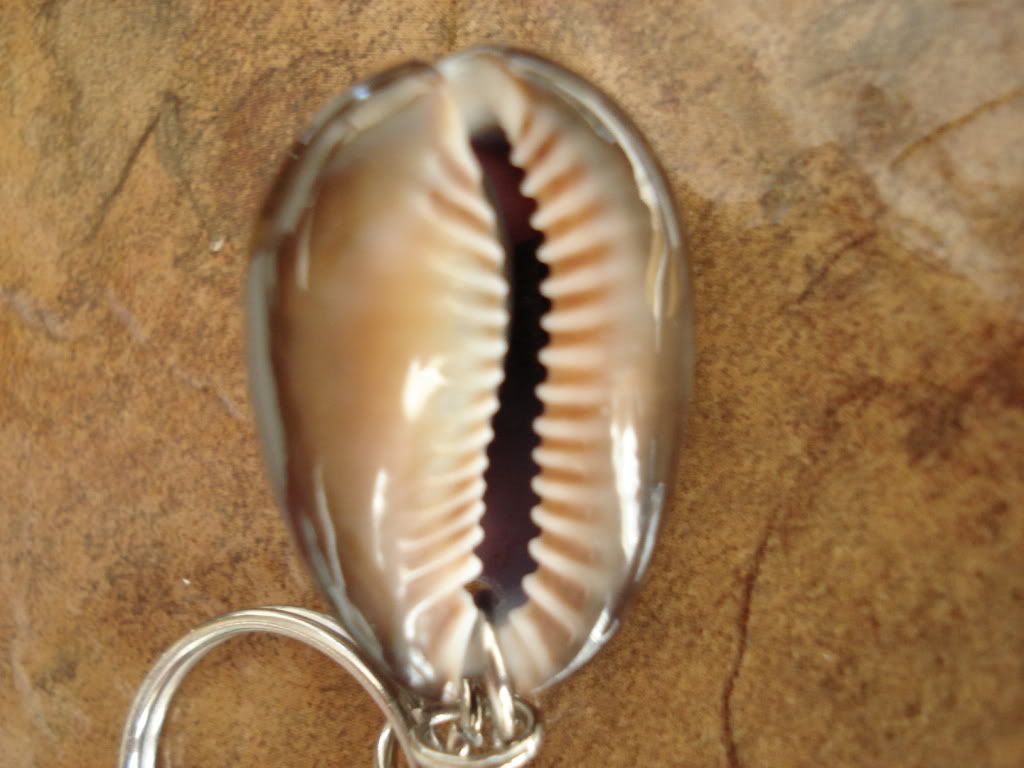 Big ass fill hole. If you can guess what watch I am wearing I'd be impressed.  Turn the lock here to open. 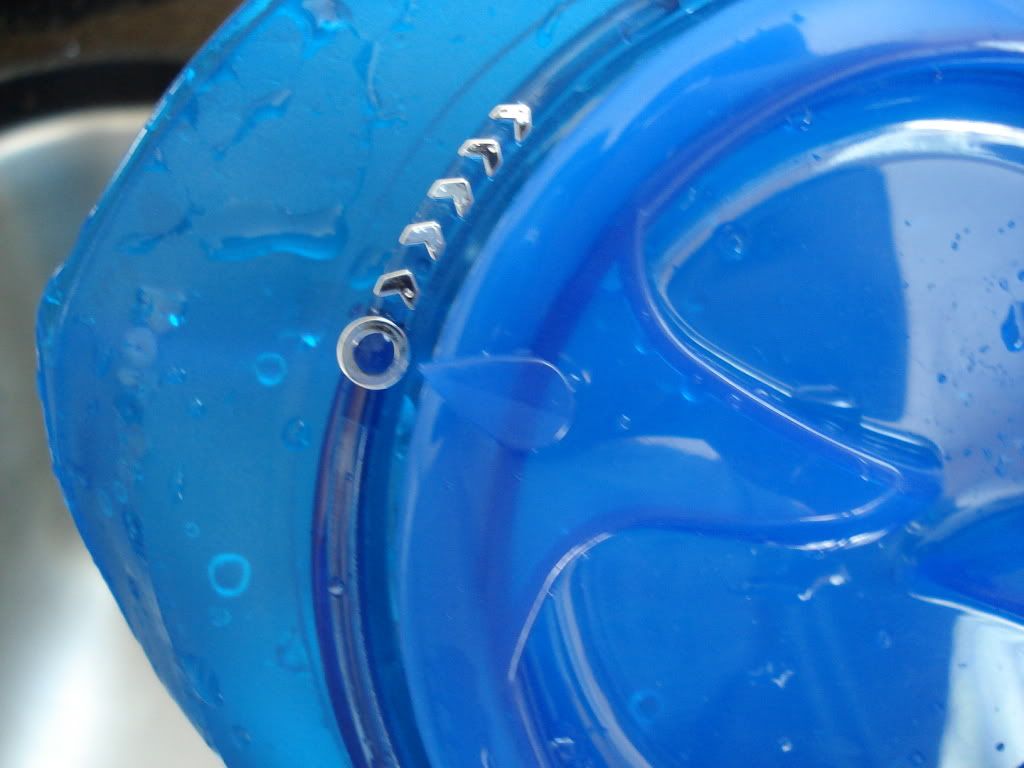 Align arrow to 12 o'clock position to close. 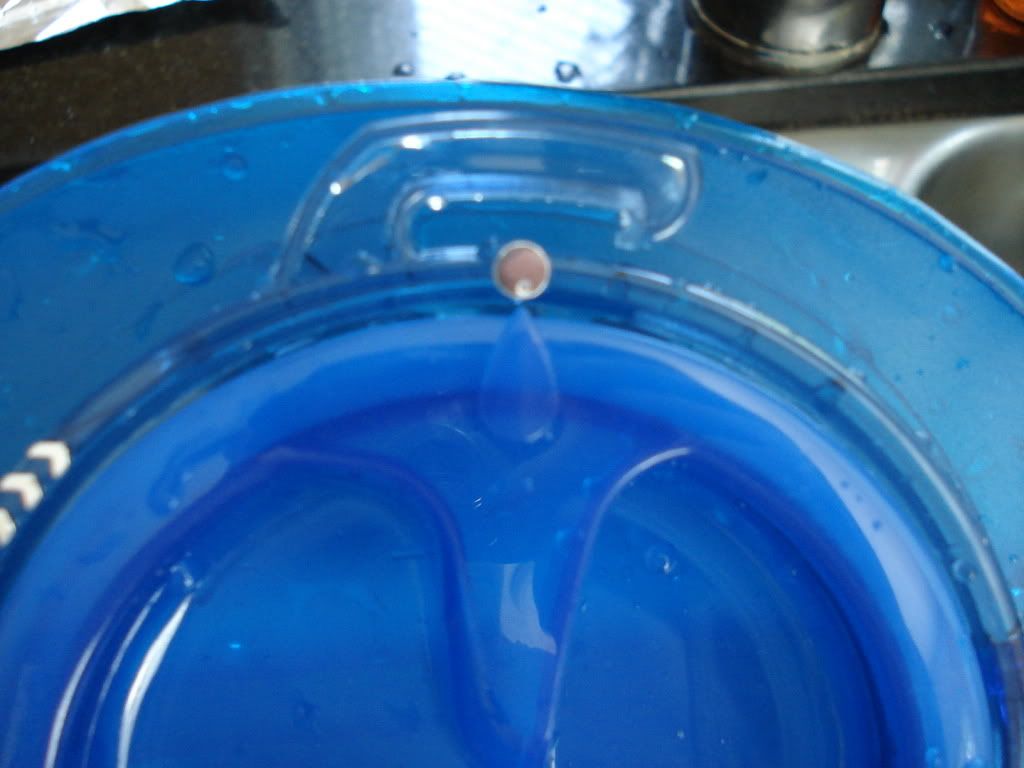 This is where the tube plugs into. The yellow clip is spring loaded to secure it and does not leak. 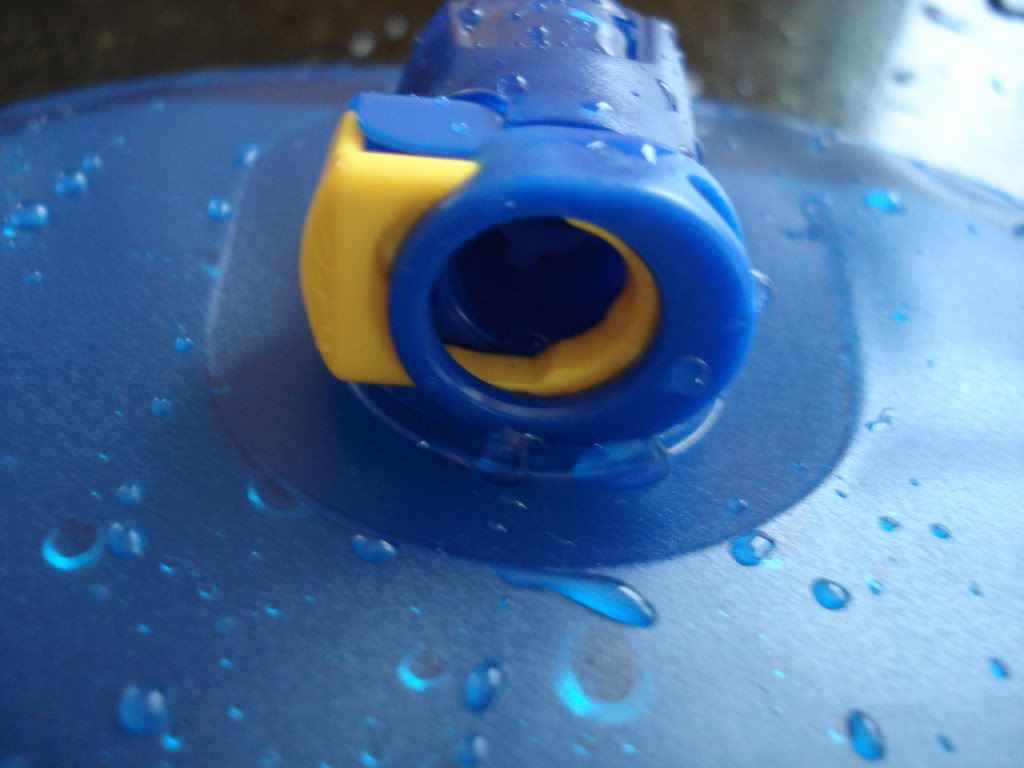 The bite valve has a lock on it. You turn the yellow tab and it closes the valve. 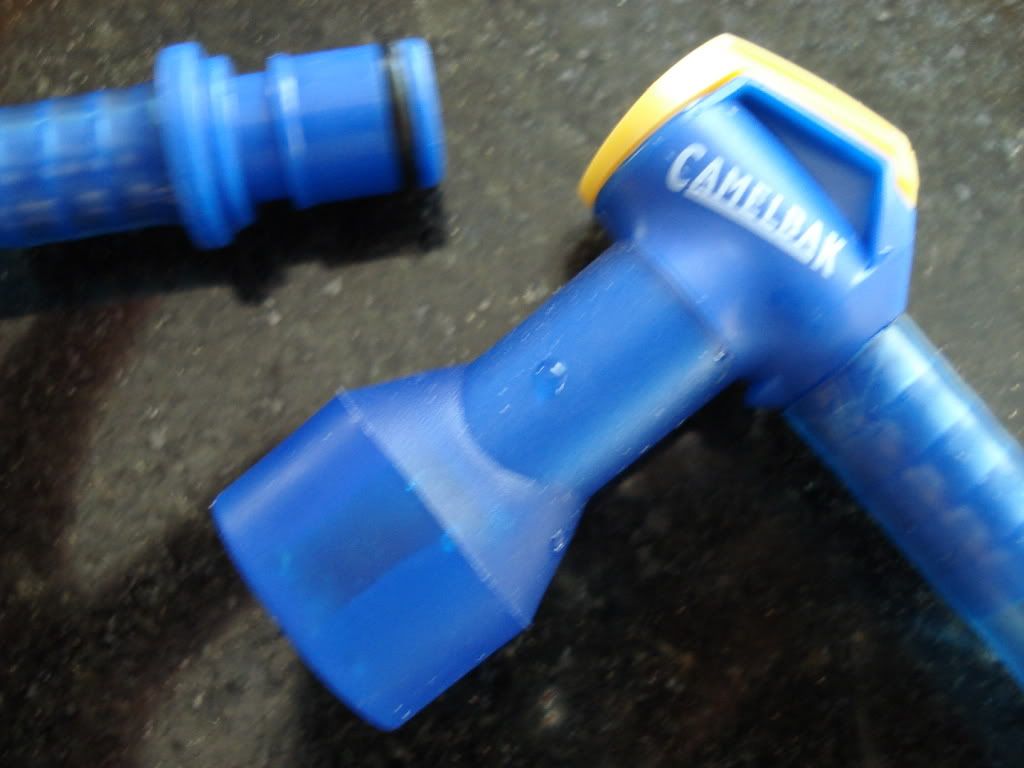 Other end of the tube. Oring sealed. 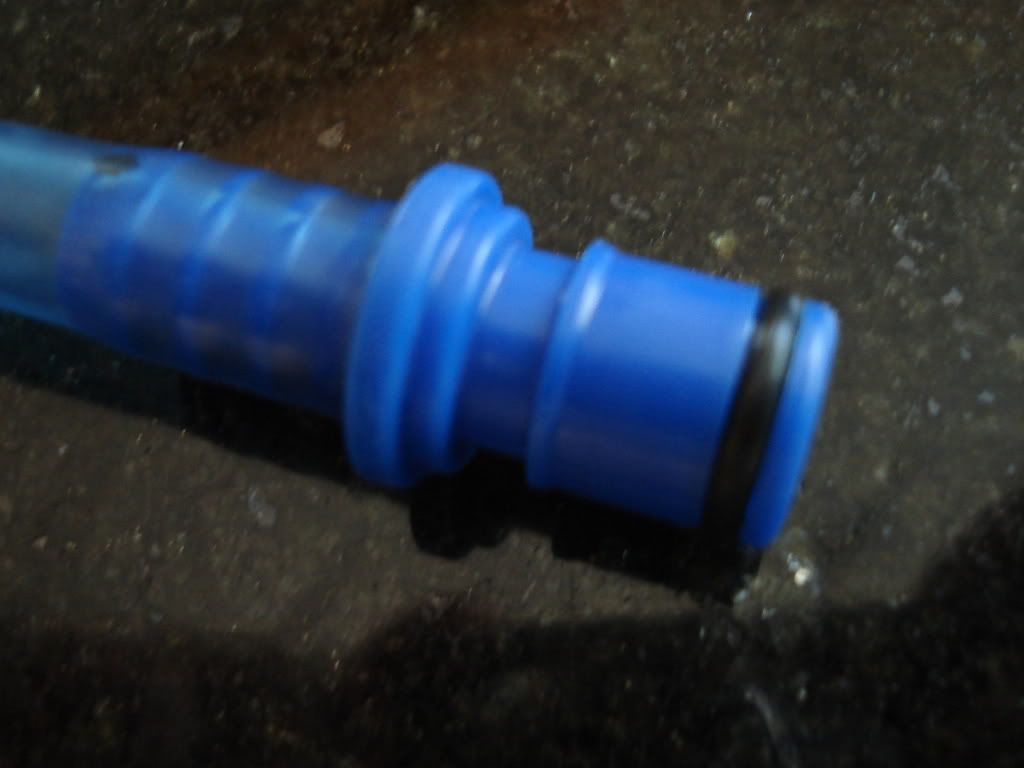 Nice secure lock. No leaks here.  There are fill lines showing how much water is in the bladder. Ounces on the right, liters on the left. 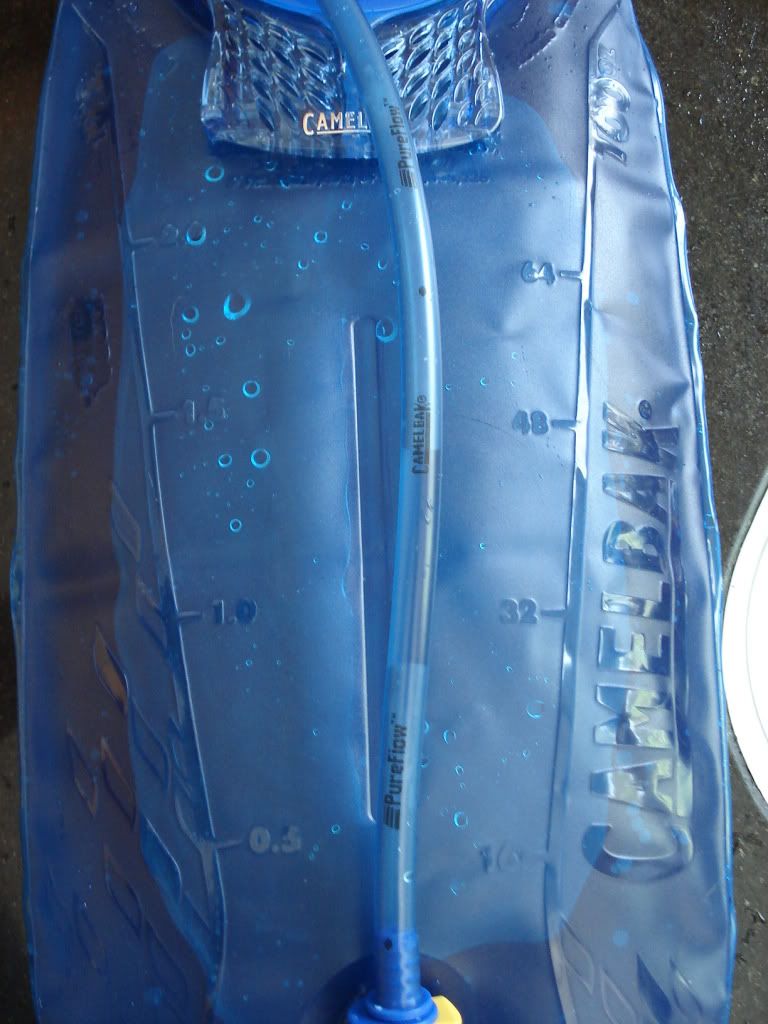 There are arms that fold out to keep the bladder open to dry.  Big fat kitty cat ruined this picture  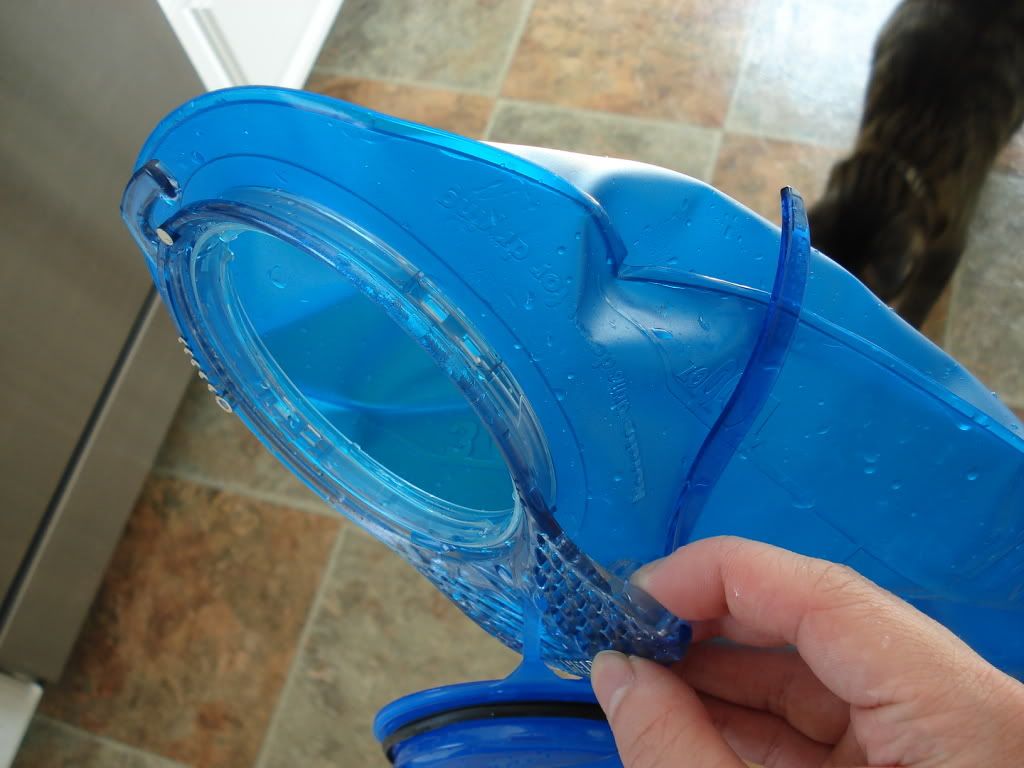 Internal baffle to stop water sloshing about. Also keeps it from ballooning out. 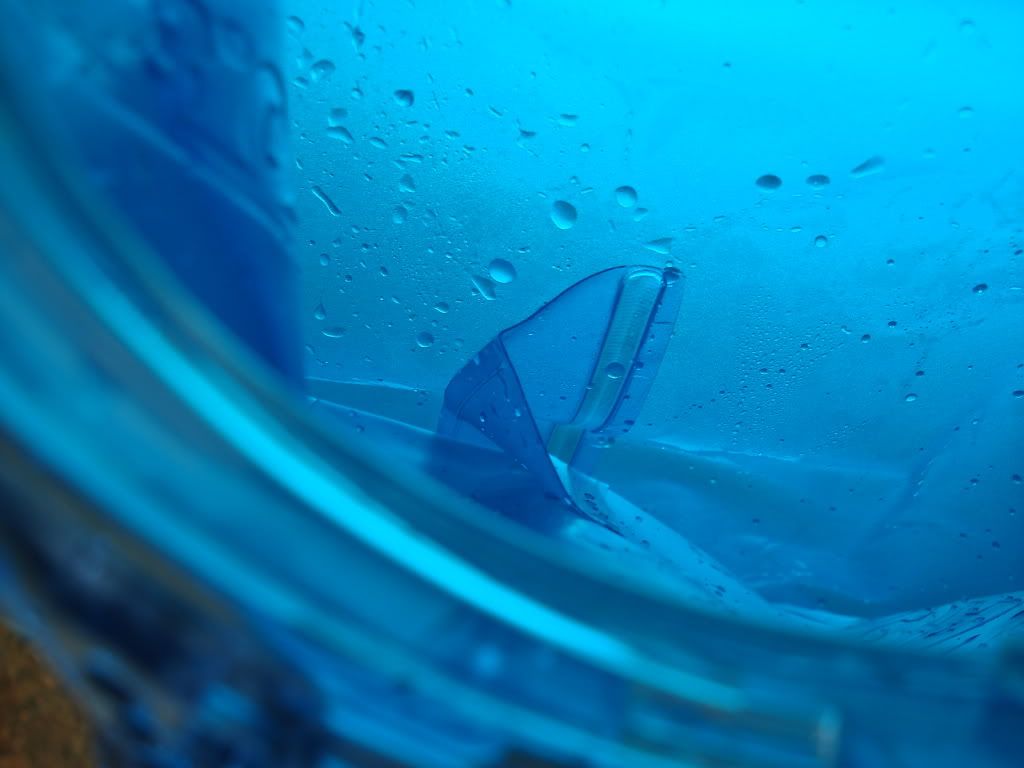 Hook to hang in your pack. 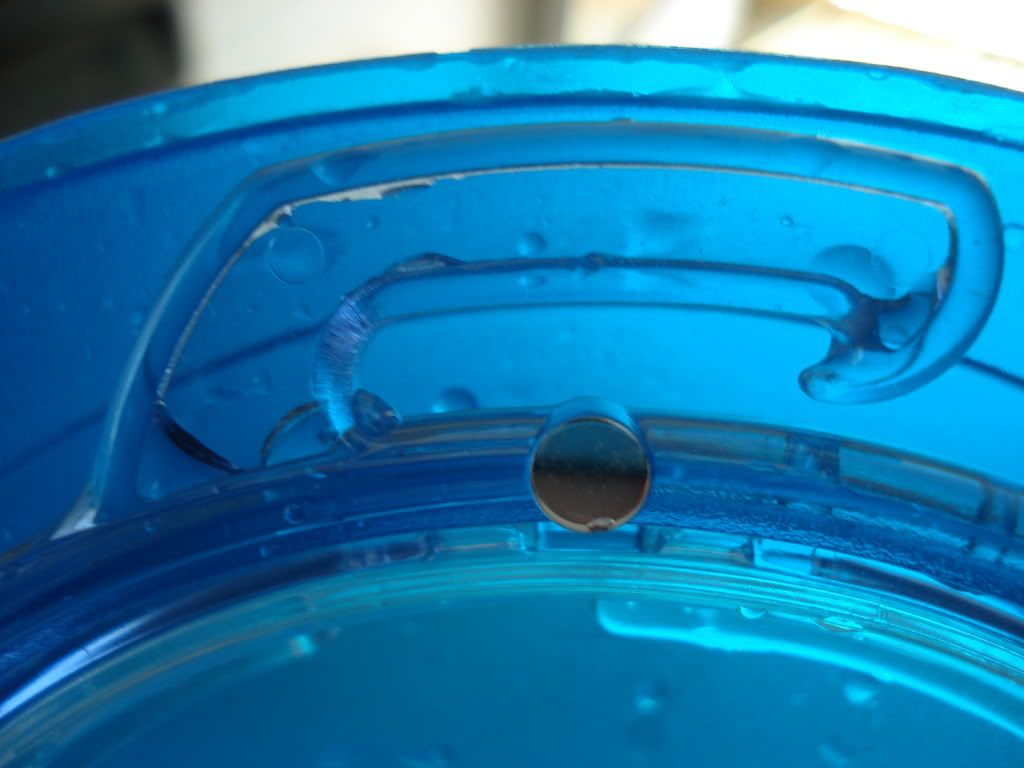 Notice how dirty the bite valve is? It gets dirty sooo fast. You will need to spend another 10 bucks on a bite valve cover unless you like dirt and cat hair in your mouth.  Inside my Camelbak, fits like a glove. 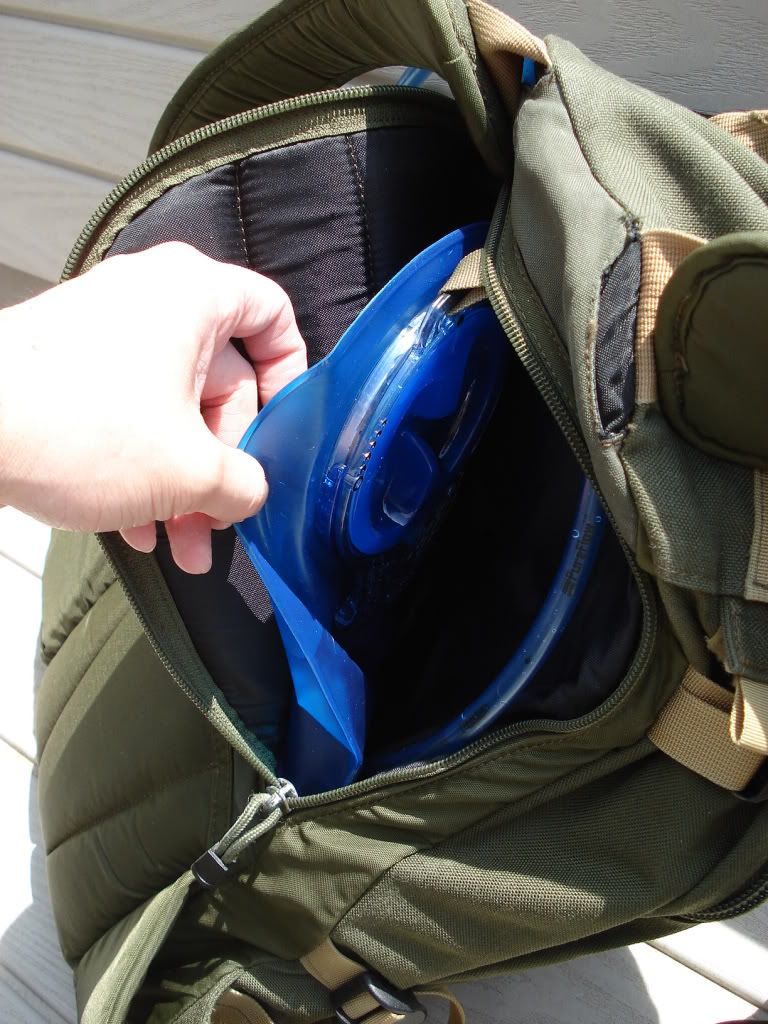 Tube is pretty long and goes down quite far.  Jordan Last edited by jordan7831; April 21st, 2012 at 02:33.. |
|
|

|
|
|
#2 |
|
Water? Get some beer in there!
|
|
|
|

|
|
|
#3 |
|
Not Eye Safe, Pretty Boy Maximus on the field take his picture!
|
Friend did that, he forgot about it for 2 weeks and his pack got a yeast infection
 Is the pack side valved, or does the tube have to be in to fill it?? The only 2 drawbacks camelbaks have is that the tube has to be in the bladder to fill, and the hose never had a 90 degree bite valve |
|
|

|
|
|
#4 |
|
Crazy coincidence. I am literally heading out to MEC to buy one of these today. Thanks for the quick review.
__________________
"Mah check" Now you know 
|
|
|
|

|
|
|
#5 |
|
will always be Mike Litoris in our hearts
|
No problem guys. More details will follow in a little while. I'm just busy busting my ass studying for my exams.
MaciekA, feel free to add your thought and impressions to this thread as well. We can co author the review or something haha. To answer your questions, you dont need to have the tube in to fill the thing which is great because there is no hose flopping about as your fill it. There is a small spring loaded plunger that keeps the water from flowing out. Also being able to remove the tube assists in cleaning it as well. Sorry im not sure what you mean by side valved. The vale is at the back of the bladder. Last edited by jordan7831; April 21st, 2012 at 00:36.. |
|
|

|
|
|
#6 |
|
Not Eye Safe, Pretty Boy Maximus on the field take his picture!
|
don't feel bad, I don't even know what I meant there lol
I think I was asking if the valve was on the pack O.o Anyway thanks for the response, now I just have to find a wide 102oz bladder! |
|
|

|
|
|
#7 |
|
Also worth checking out at mec are the Source WXP 3L bladders.
__________________
H-61 "Acta non verba" They see us rollin, they hatin... |
|
|
|

|
|
|
#8 |
|
I got this guy from them: http://source-military.com/hydration...-rider-3l.html
Nice and slim, attaches super securely to the molle on a vest, and no bad taste whatsoever! Seriously can't think of a complaint about Source, they put a lot of thought into their stuff. Very highly recommend.
__________________
WE M4 Raptor VFC HK416 KWA MP7A1 KWA HK45 VFC SCAR-L G&P VLTOR M4 KJW Hi Capa |
|
|
|

|
|
|
#9 |
|
will always be Mike Litoris in our hearts
|
Hey everyone,
I have been using my camelbak for a little while now and in its use I have noticed the tube likes to flop around like no tomorrow. Now there are several things on ebay that are designed attach the tube to the webbing on your shoulder strap. They cost about 5 bucks and are pretty stream lined. But I decided to be cheap and see if I could make one for next to nothing. I found in my garage a clip from some old christmas lights. Its a nylon clip and is pretty springy. 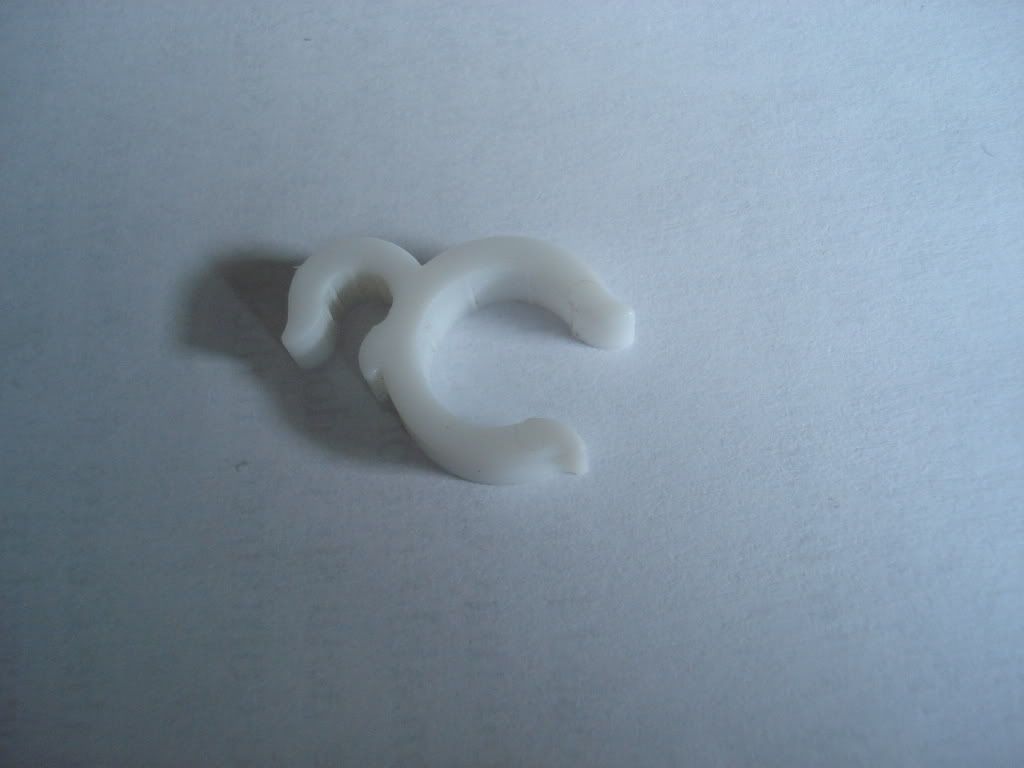 It was able to fit over the tube tight enough so it wouldnt fall out but loose enough to be pulled out for easy access. 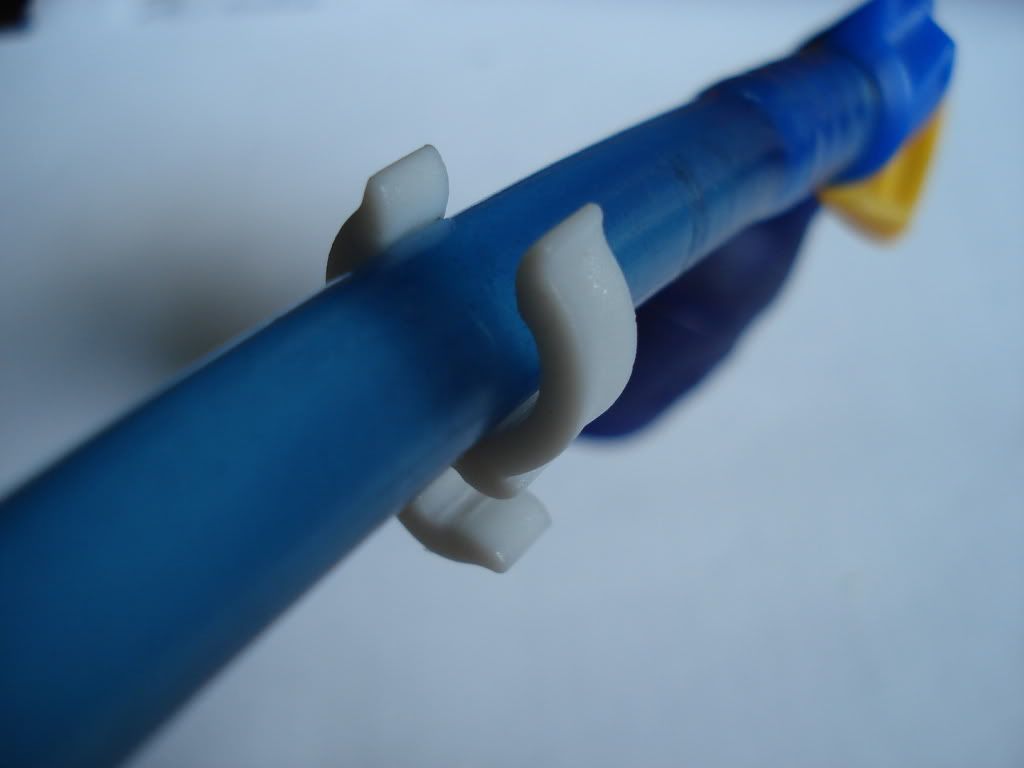 Here is the inner diameter measured with a tool every nerd has. 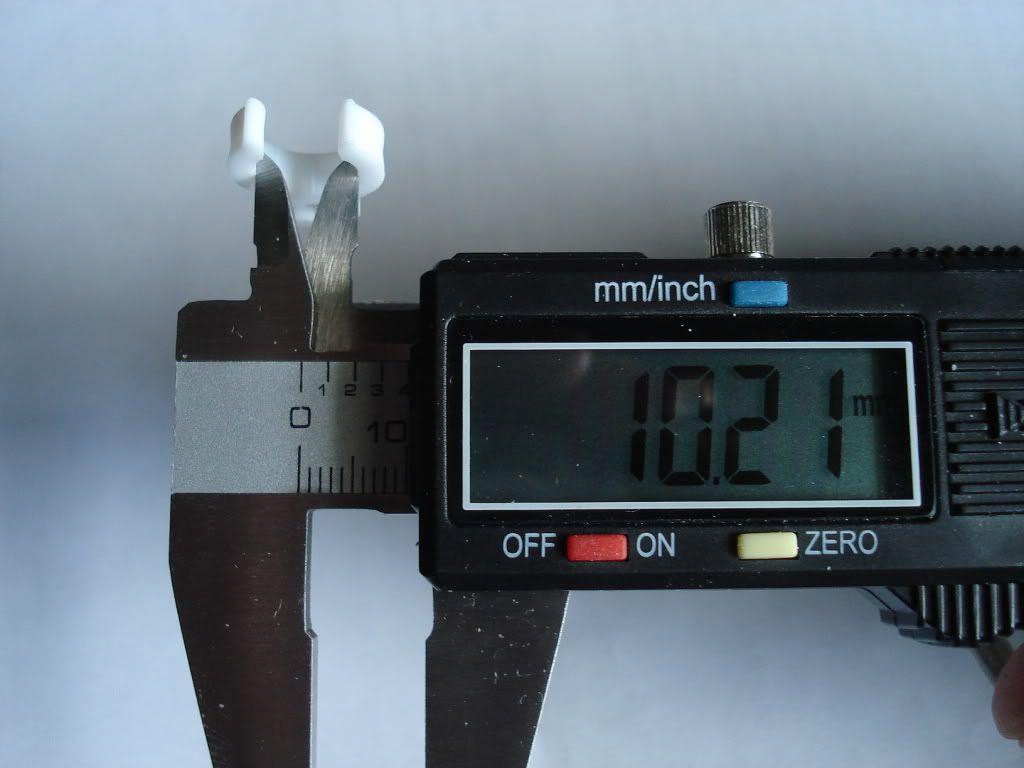 There are some sharp edged on the clip so some light filing is a good idea. 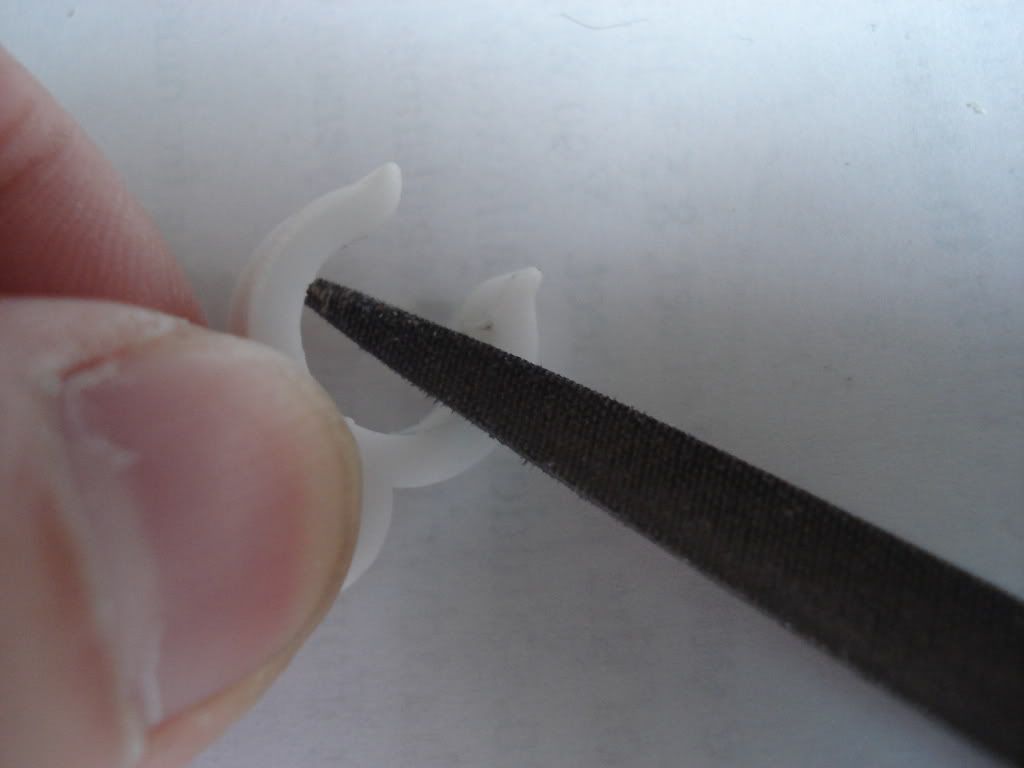 Astute readers will notice there is a large notch on the other side of the clip. So to secure a lanyard to it the gap must be sealed. I was planning on cutting a piece of ABS to fit in the groove and then superglue in place but for what ever reason it didn't work out to well. The solution drill a hole with the smallest drill bit you can find. I used a 1.5MM bit, and a 1.3MM finishing nail with great success.  Obviously you would cut the remainder of the nail and file it flush. You will want the head of the nail to be on the inside of the clip. One good reason is that if you were to put a lot of weight on the clip (from sitting or falling on it) the pointed end may puncture your hydration tube. Having the head of the nail on the inside eliminates this risk do to having a lot more surface area. Superglue is used to secure the nail in place. TIP: If you sprinkle a pinch of baking soda on the wet superglue it forms a hard epoxy and will strengthen the bond. I also took a 2MM bit and counter sunk the clip on the inside by 1.5MM. This way the nail head sits flush with the clip and does not poke out. 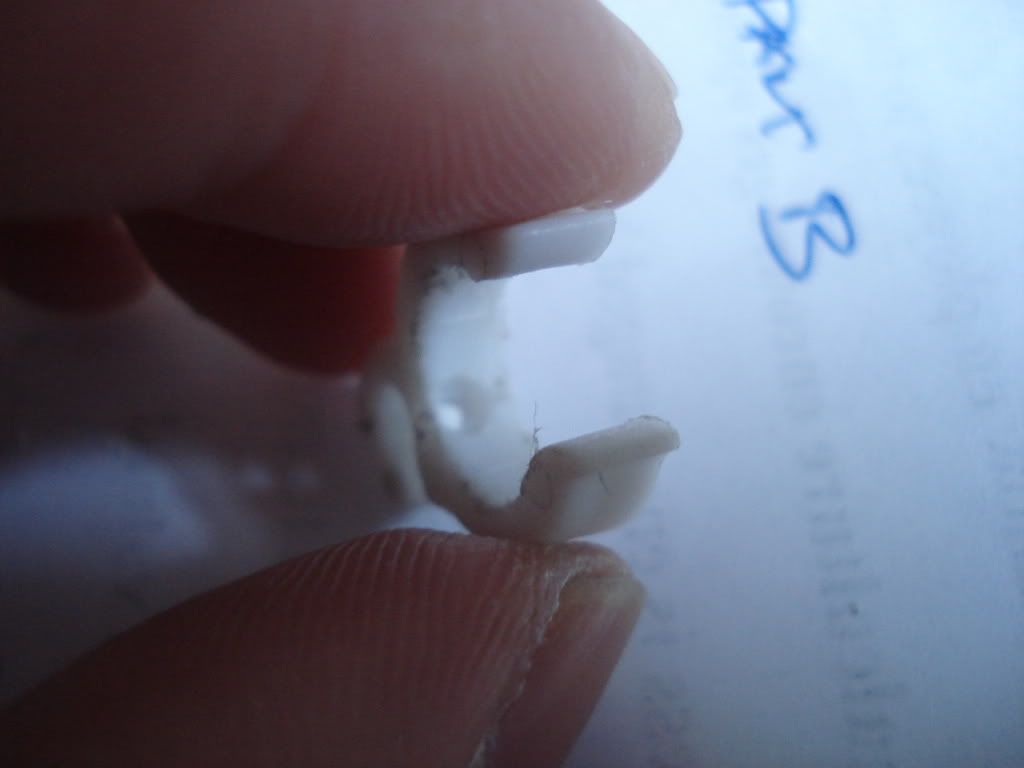 Some thin shock cord can be used to attach to webbing. Para cord is a bit to thick to be used in this clip unless you removed in inner strands and used the shell. These picture were taken before I cleaned up the burrs. You can leave them if you want, it doenst matter.  Here you can see the nail head counter sunk  Tube stays put and doesnt flop around anymore YAY! 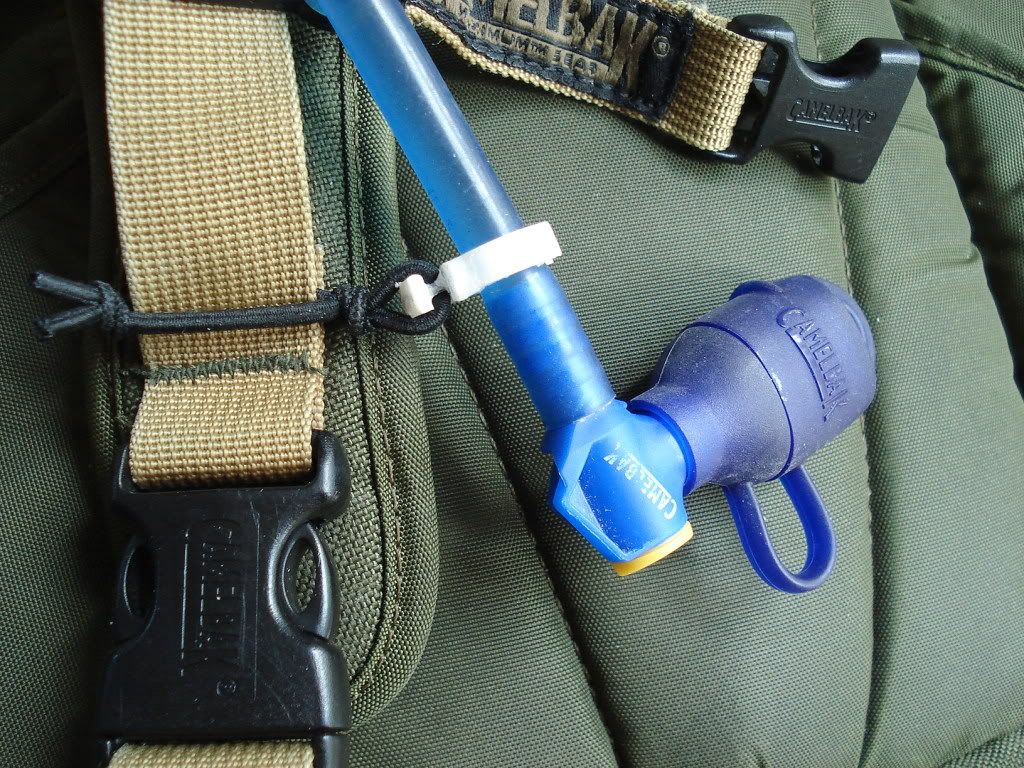
Last edited by jordan7831; May 30th, 2012 at 14:42.. |
|
|

|
  |
|
||||||
| Bookmarks |
| Thread Tools | |
|
|
 |